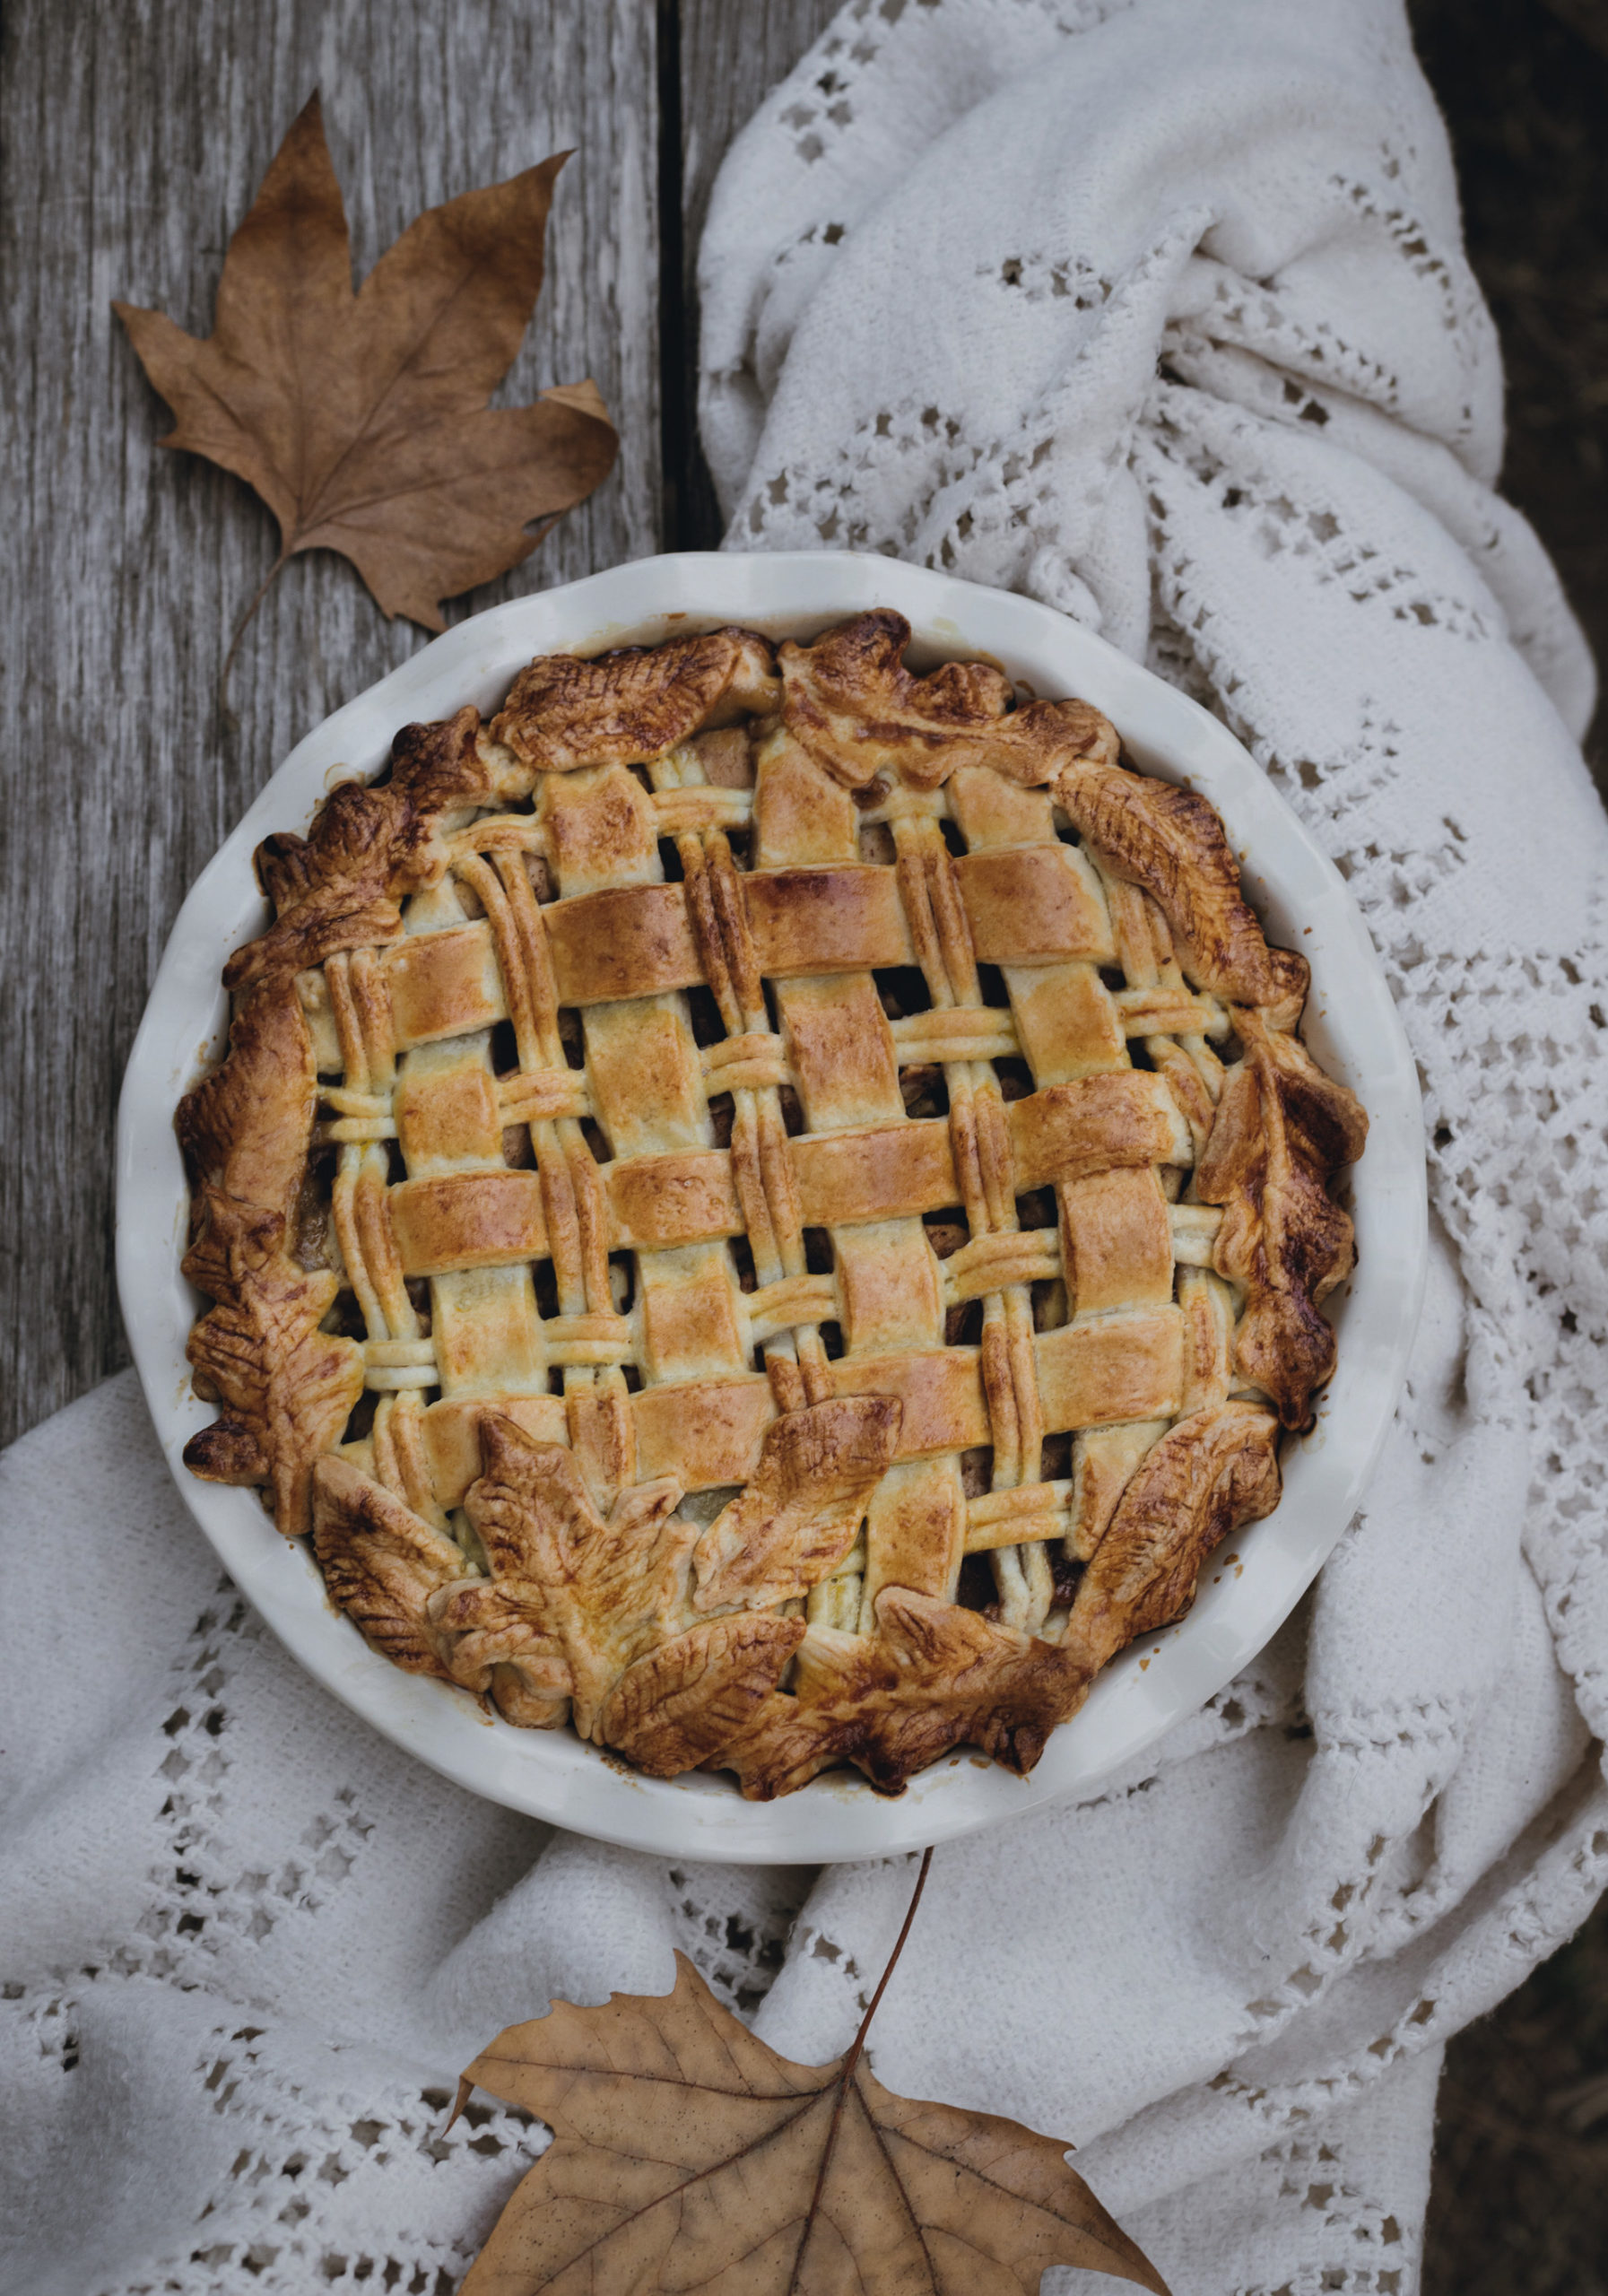
Fall is finally here, and I am celebrating it with a delicious Apple Pear Walnut Pie. Flakey pie crust is filled with juicy, sweet cinnamon-spiced apples, pears, and chopped walnuts. Serve it warm with your favorite topping for a cozy Fall afternoon.
September flew by so quickly, with mixed feelings of summer ending and Fall behind the corner. Even though it feels still like summer in central Italy, Fall has been showing her signs in the early morning breeze, crunchy fallen leaves, and cozy nights. I have been waiting impatiently for the season change. I do love summer, don't take me wrong, but high temperatures are not really my thing. Furthermore, I find Autumn so romantic and cozy - every day is a chance to find beauty in the ordinary - from foliage in our woods, candlelight, a warm sweater on a cold night, or a slow afternoon with a warm cup of coffee and a delicious pie.
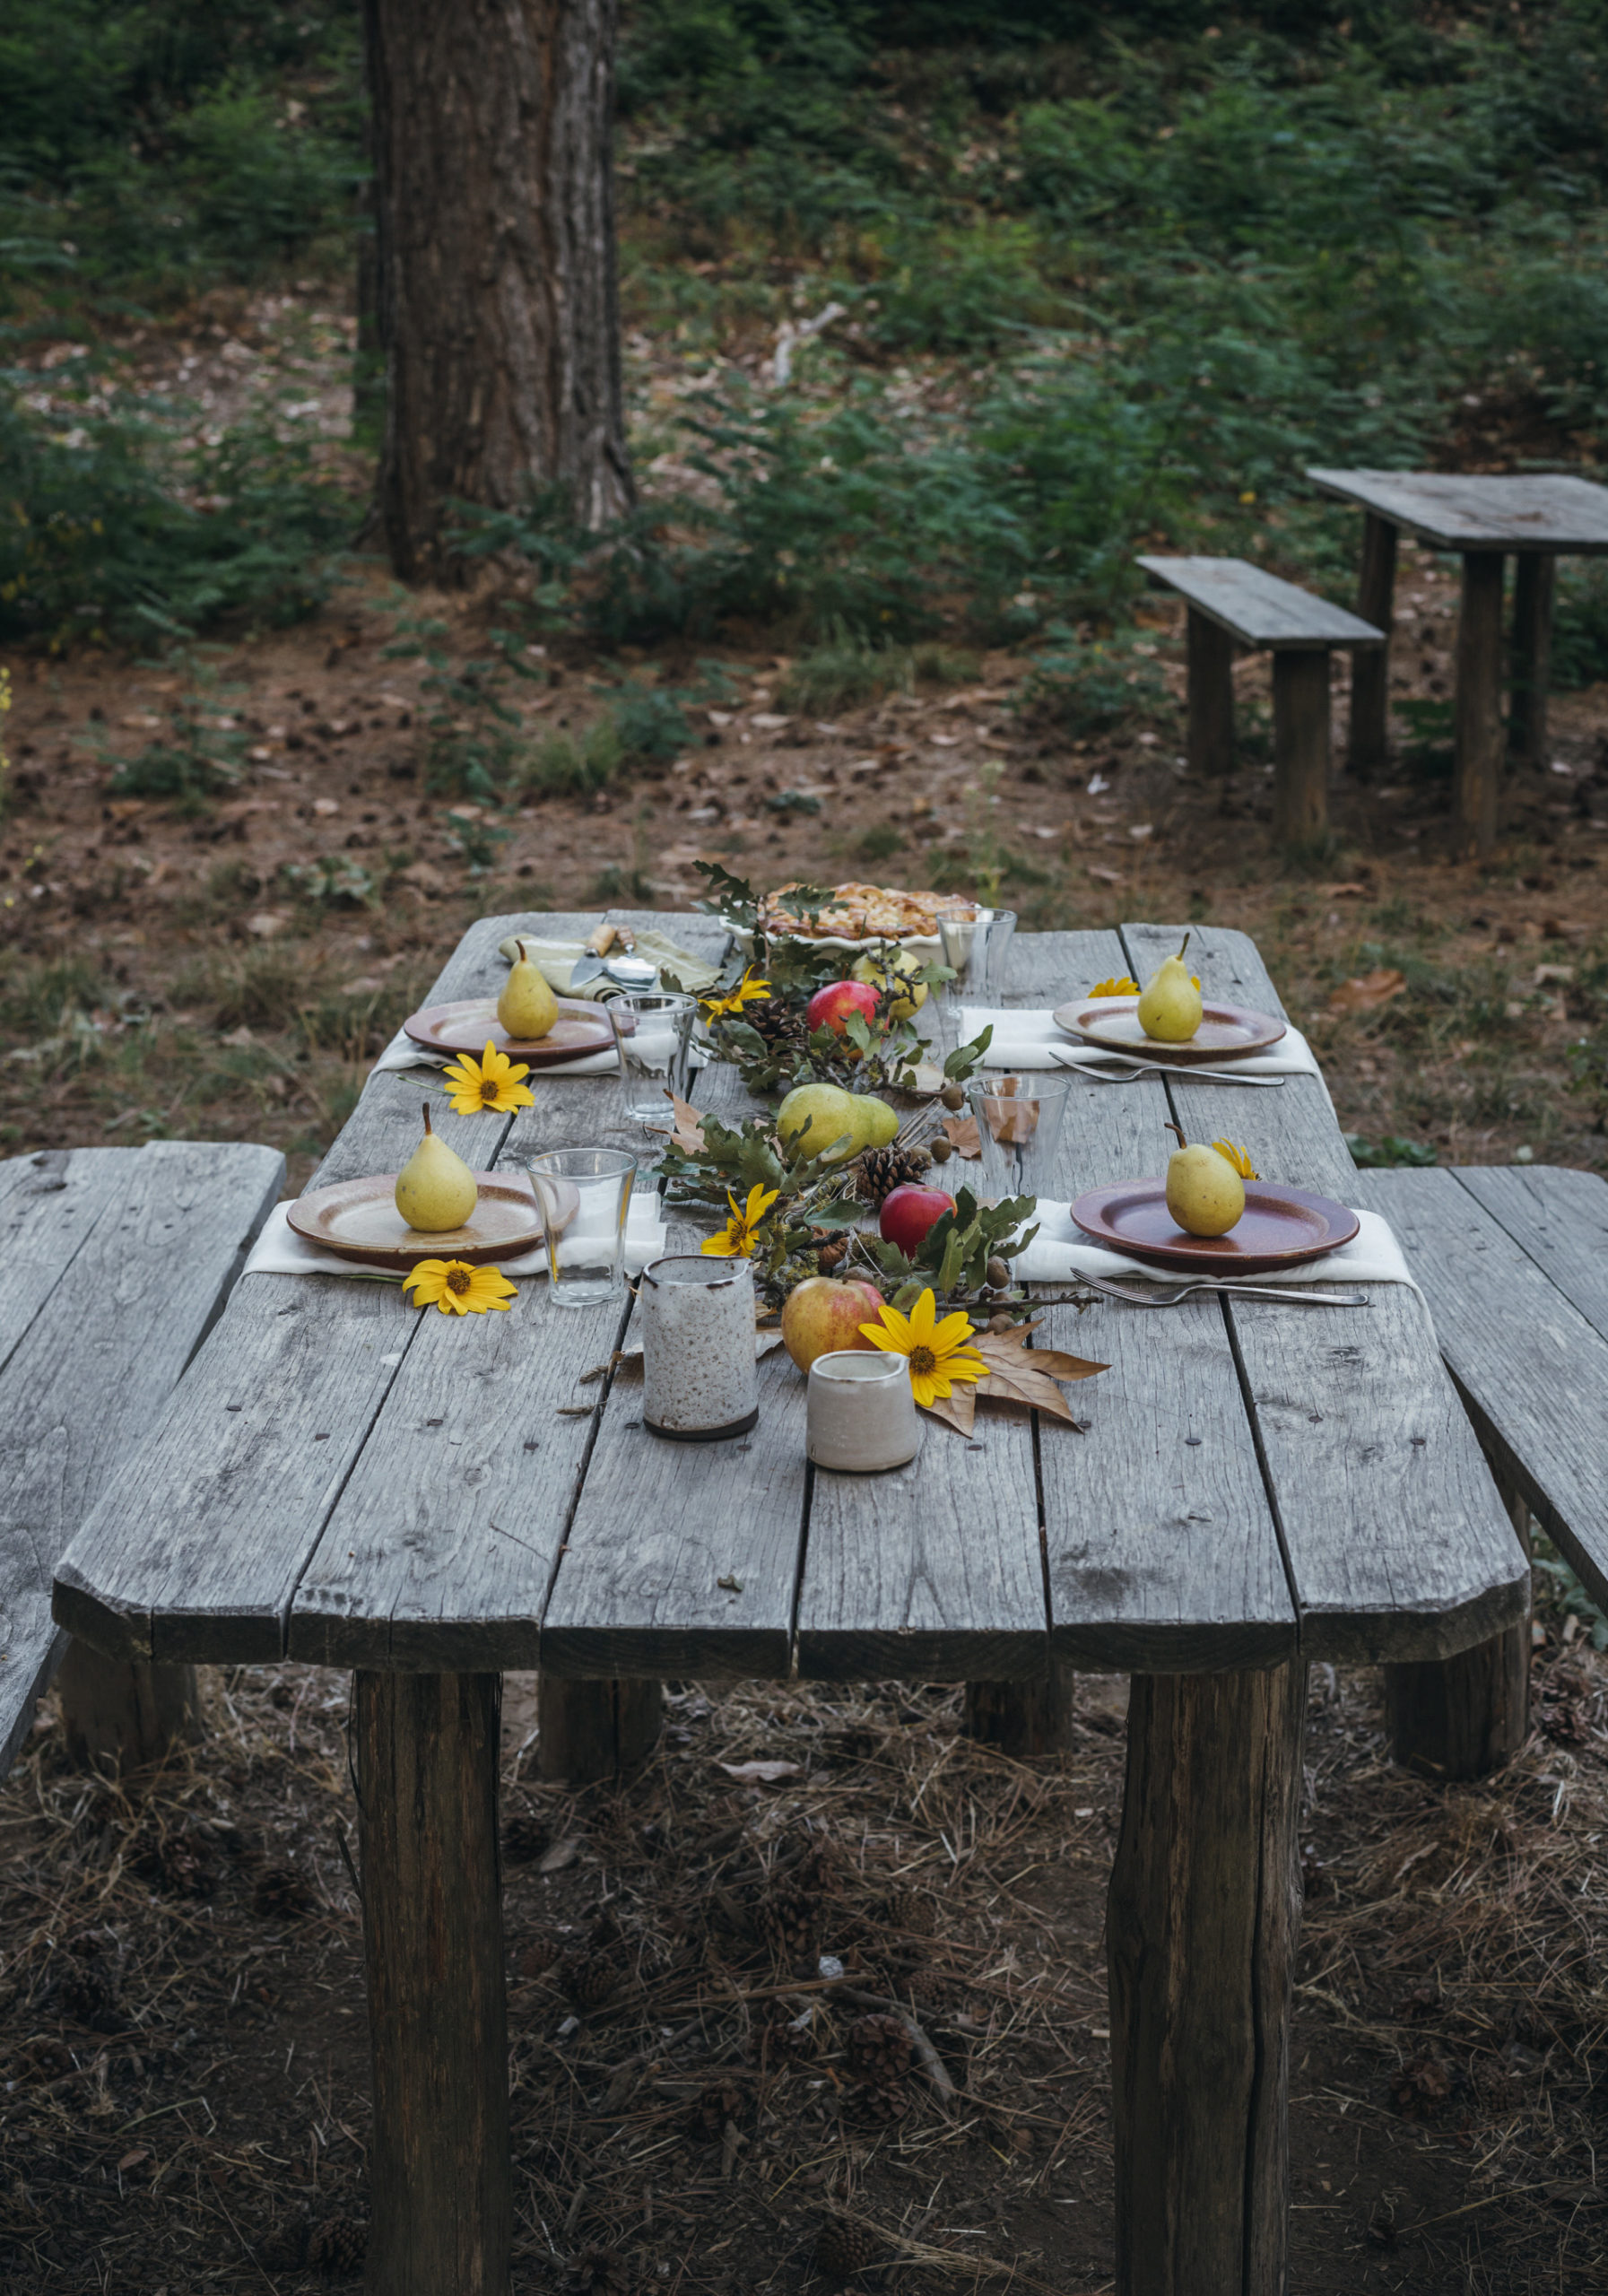
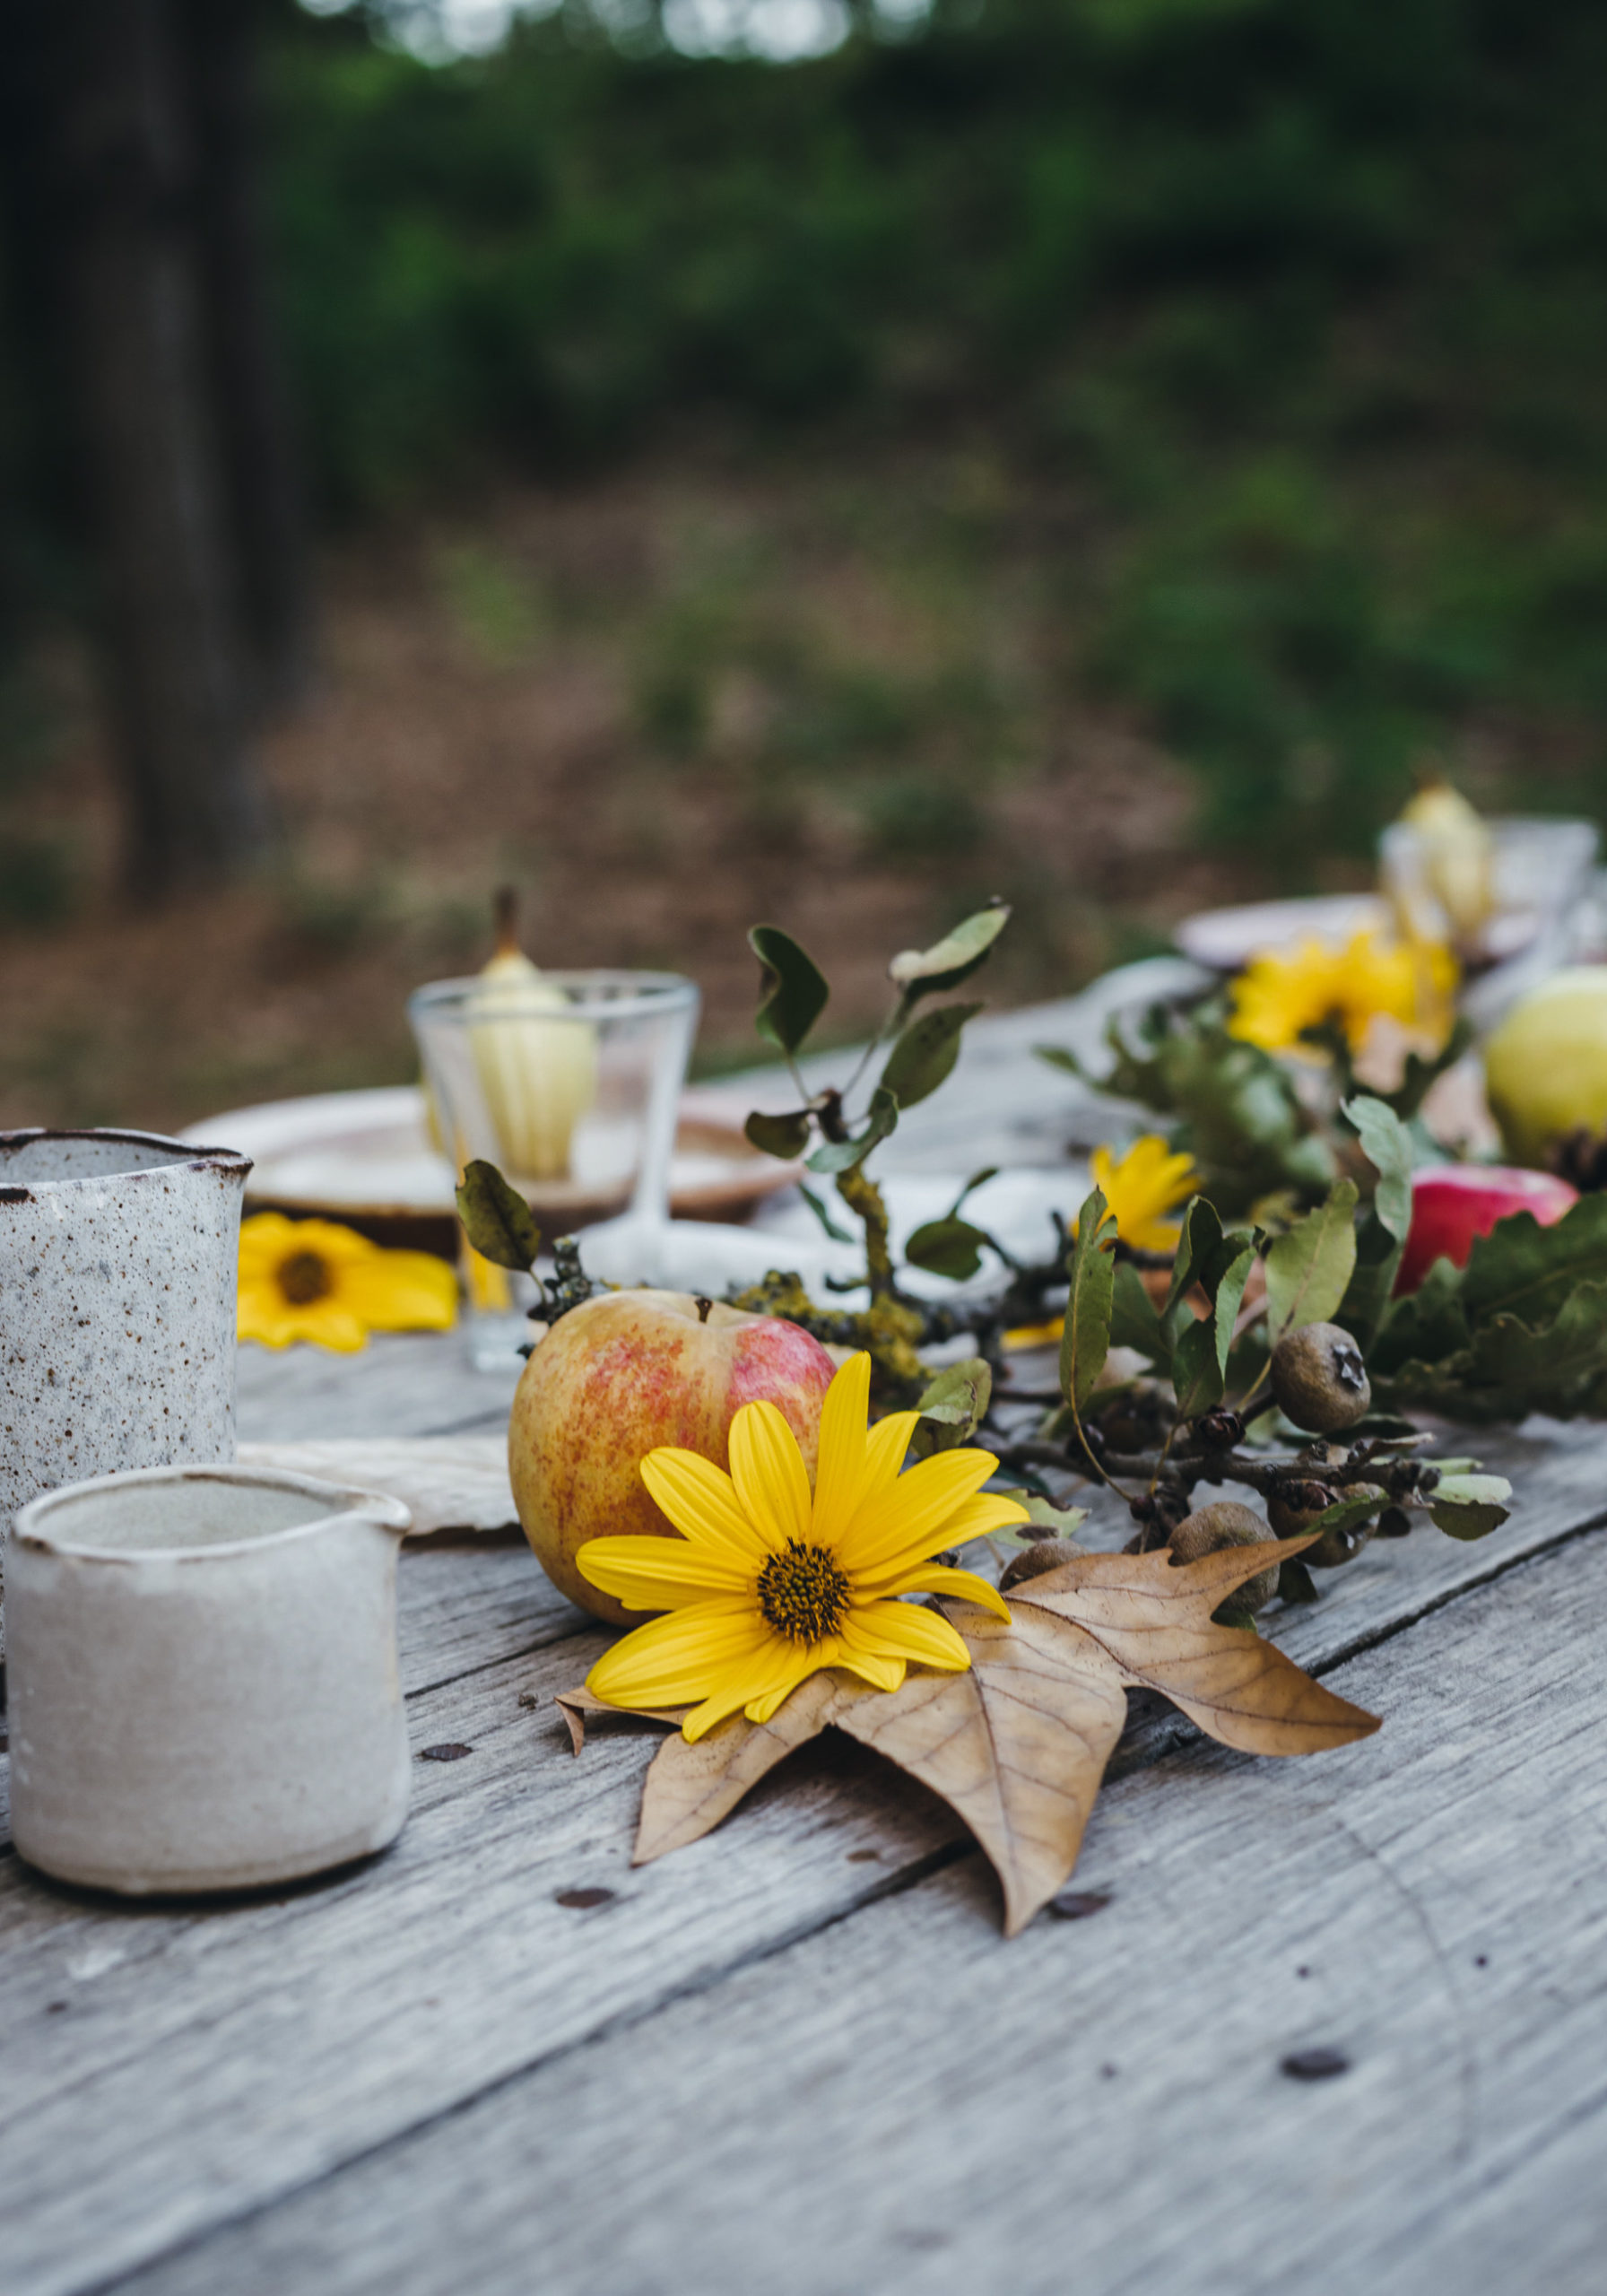
With Fall officially arriving last week, I had to celebrate it properly, so last weekend, I baked this delicious Apple Pear Walnut Pie, and we headed to the woods for a picnic. It was nice to take a breath from the mundane and enjoy some peacefulness of nature and a good dessert.
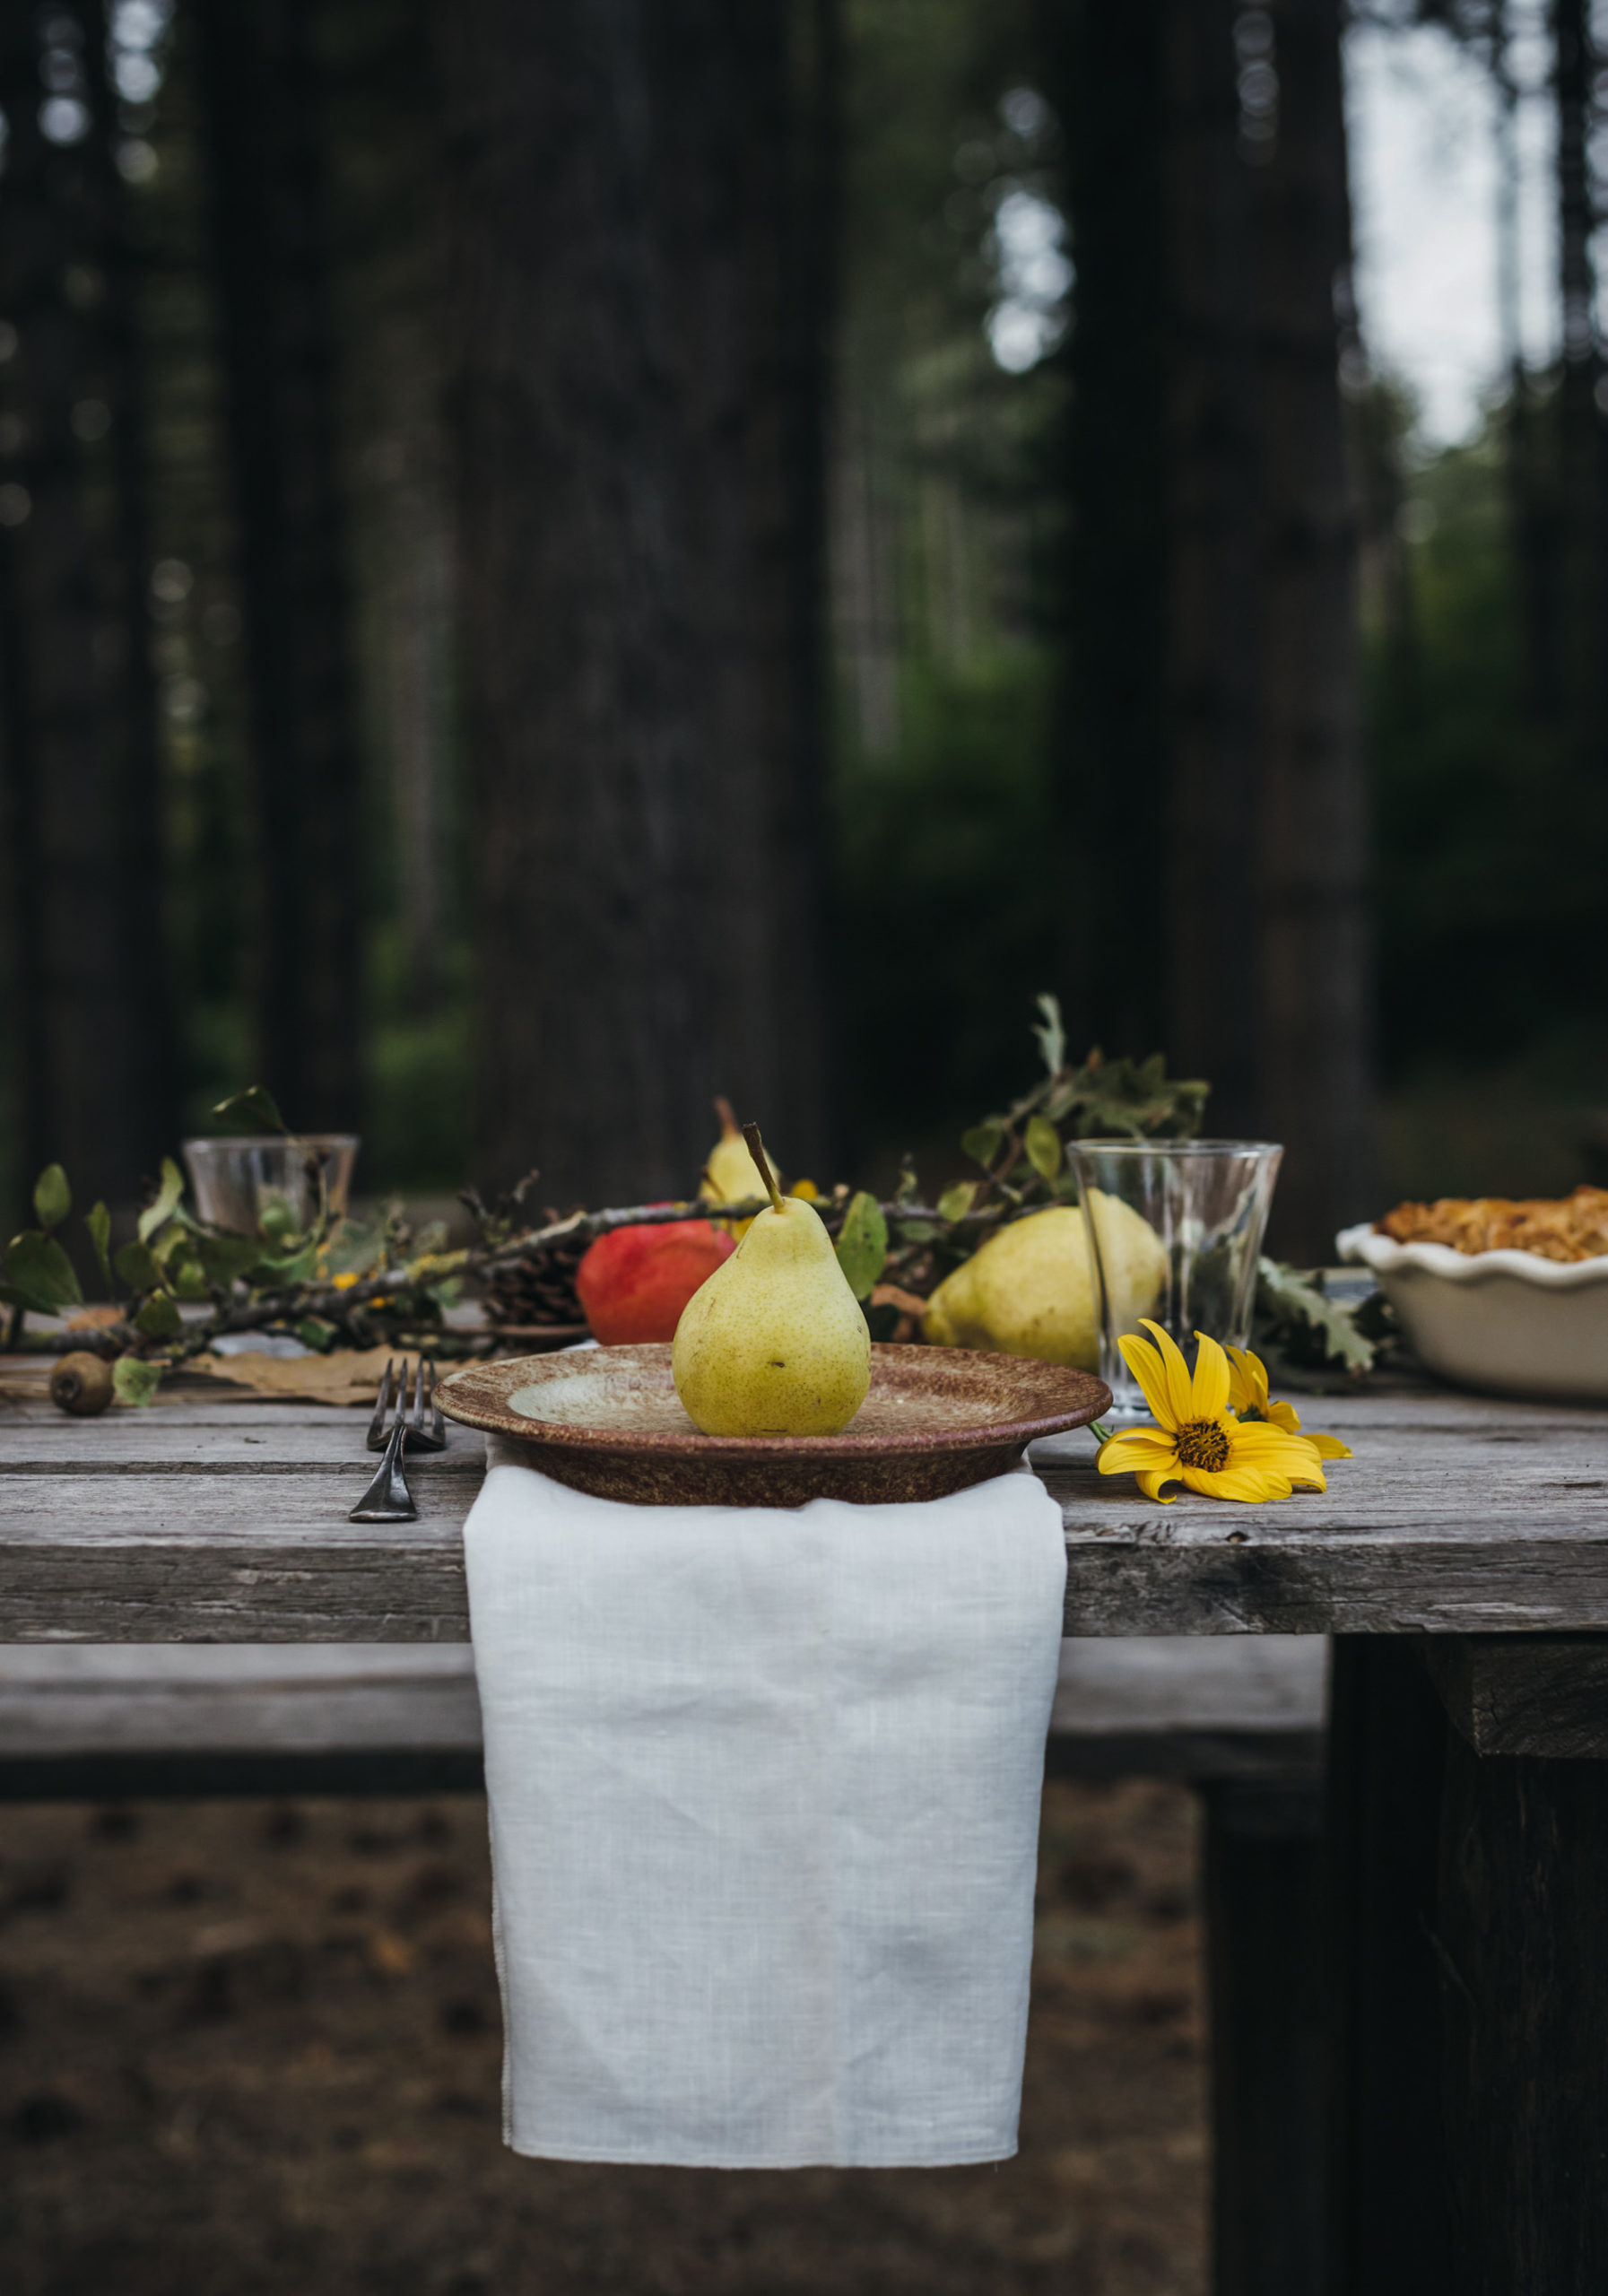
As I wanted to make a pie that tastes like Fall, I combined apples and pears with cinnamon and touch of vanilla, and added chopped walnuts for extra taste and texture. I love walnuts and they go so well with fruit combination in this recipe.
If you don't have pears at home you can just use apples and walnuts as well, or change walnuts for softened dry raisins. When it comes to fruit, choose firm apples and pears, as overripe fruit can produce too much liquid resulting in a soggy bottom crust. I love using Gala or Green Smith apple variety but firm Golden Delicious can work as well.
If you love pies as much as I do, then having a go-to pie crust recipe is a must. The crust recipe indicated in this post is what I use for all my pie recipes and have always performed so beautifully. Besides being flakey, buttery and delicious, the dough keeps shape of my decorations and make all my pies beautiful even after baking.
The ingredients indicated make two layers - one bottom, one top layer and a few decorations such as leaf cut-outs I used to decorate the borders. The single crust is perfect for galettes or single crust pies such as pumpkin pies, chocolate pies and similar. The recipe can be used for savory recipes as well, just omit sugar.
The dish I am using for this recipe is Emile Henry Pie Dish, with 26 cm diameter (around 20 cm on the bottom) and is 6 cm tall. I find it perfect for making tall pies such as American pie and it bakes to a perfection without greasing the pan or using baking paper.
how to make a Perfect pie crust
Pie recipe is very straightforward and requires 5 ingredients: all-purpose flour, sugar, salt, butter and water. As simple the ingredients are, here are some tips on what to do ( and not to do :)) in order to have a perfectly flakey crust every time you bake.
• Butter should be very cold. Mixing the dough with your hands will warm up the mixture, so we want to make sure that the butter doesn't melt. Cold butter is what makes the pie crust flakey.
• Water should be cold as well. Start adding water a tablespoon at the time, until the mixture starts to come together. You may not need all the water, and the number of tablespoons can depend on the type of butter and flour as well.
• Don't knead the dough! You want to mix the ingredients just enough to create a ball from the dough. Kneading the dough like for example bread, will make the dough tough.
• Roll out the dough on a floured surface and turn it clockwise for each roll. This will prevent the dough from sticking to the surface and will help you roll out evenly.
• Let the dough chill in the fridge for 40 minutes to 1 hour before rolling it out. This will cool the butter again and prevent the dough from breaking apart.
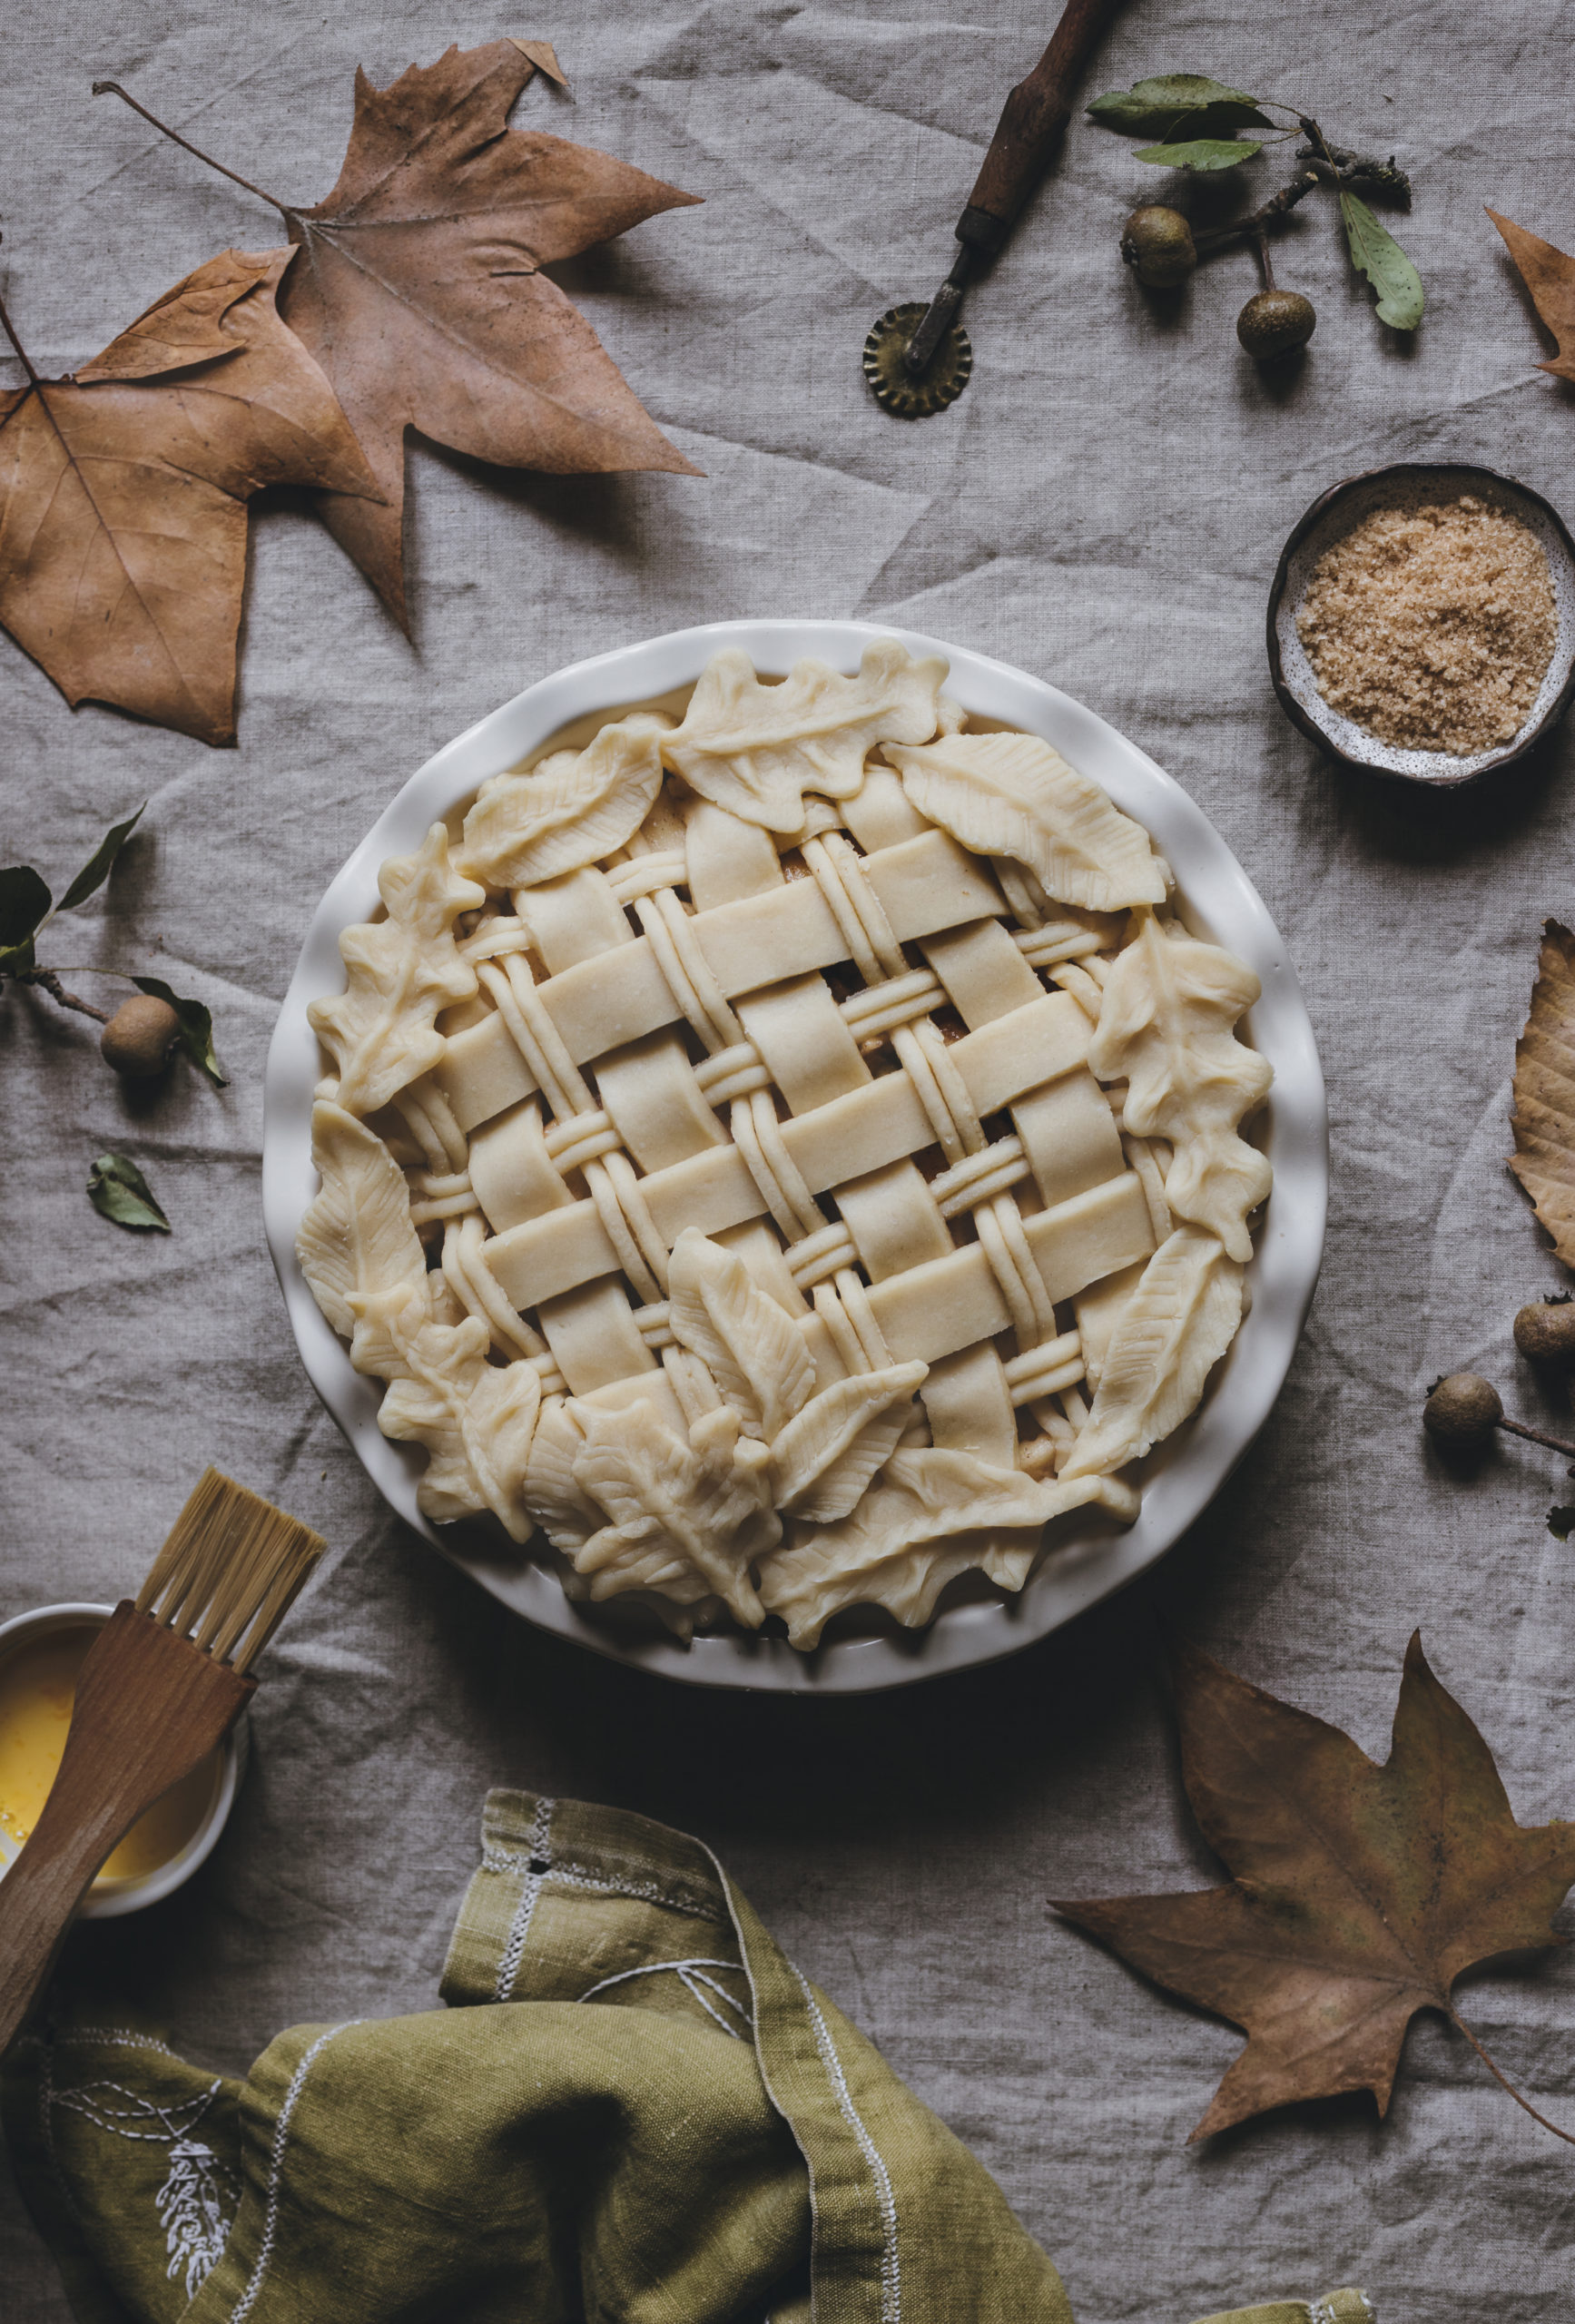
• Once you filled the pie and decorated it put it back in the fridge for 15 minutes (use egg-wash only before baking). This will allow the top to cool and decorations will keep the shape during the baking.
• The dough can be kept in the fridge for 2 days, or you can freeze it in a ziplock bag for up to 3 months. Allow it to come to room temperature when you are ready to roll it out into a pie crust.
APPLE PEAR WALNUT PIE
Marija Gvozdenovic
INGREDIENTS
Serves 8
For the CRUST
480g all-purpose flour
4 tbsp granulated sugar
pinch of salt
250g very cold butter
150ml ice-cold water
FOR THE FILLING
5 big apples (Gala, Green Smith or Golden Delicious)
4 big pears
80g roughly chopped walnuts
5 tbsp brown sugar
1 tsp ground cinnamon
1/8 tsp vanilla paste
juice from 1/2 lemon
2 tbsp flour
1 egg yolk + 1 tbsp milk for brushing
METHOD
Prepare the crust:
In a bowl, mix flour, salt, and sugar. Add cold butter, and using your hands or pastry cutter, incorporate the butter into the mixture until it resembles a coarse meal. Start adding water, a tablespoon at a time, and gently stir with a spatula or wooden spoon. Sometimes you will need less or more water than indicated, depending on the flour and butter used. Stop adding water when the dough begins to form large clumps, it's not too sticky and can be formed in a bowl.
Transfer the pie dough to a floured work surface, and using floured hands, form a ball. Divide dough in half. Flatten each half into 2cm thick discs using your hands. Put the dough in plastic wrap and store in the fridge for 40 minutes to 1 hour. You can prepare the dough even the day before.
Prepare the filling:
Wash, peel, slice apples and pears, and add sugar, flour, lemon juice, vanilla paste, and cinnamon. Set aside.
Assemble the pie:
Take out the chilled dough and transfer it to a floured surface. Gently press the dough with your rolling pin, starting from the center, as the dough is very firm. Turn the dough with your hands clockwise at each roll so that dough doesn't stick to the surface. Roll out the dough in a large circle ( 3-5 mm thick), then helping yourself with a rolling pin, transfer the dough to the baking pan. Trim any extra dough and save it for decoration. Place the dish in the refrigerator while rolling out the second disc.
Roll out the second half of the dough, using the same method as before. Here, you can either cover the pie entirely or decorate it with a lattice pattern like I did. In case you are covering the pie completely, make sure to cut several slits in the center.
Preheat your oven to 180 degrees Celsius (350 F). Grease and flour the baking pan if needed.
Take the pie dish out of the fridge and pour the filling. Make sure that the filling is firmly packed and spread evenly. Fold in the edges and press them with your fingers to make a fluted edge. Roll out the second disc of dough to a large rectangular shape. With a knife, create stripes ( I used a mixture of thin and thick stripes and, in total, had 18 lines). Place the dough strips over the filling in a lattice pattern. Seal the edges with some water, and decorate the borders with cut-out leaves. Put the pie in the fridge for 15 minutes.
Beat the egg yolk with 1 tbsp milk. When the pie is chilled, brush it with egg mixture. Bake for 50-60 minutes at 180 degrees Celsius (350 F) or until golden brown and filling is bubbly. Remove from the oven and let cool completely before serving. This will help the filling set, making it easier to cut the pie. Serve warm or cold with ice cream or whipped cream.
